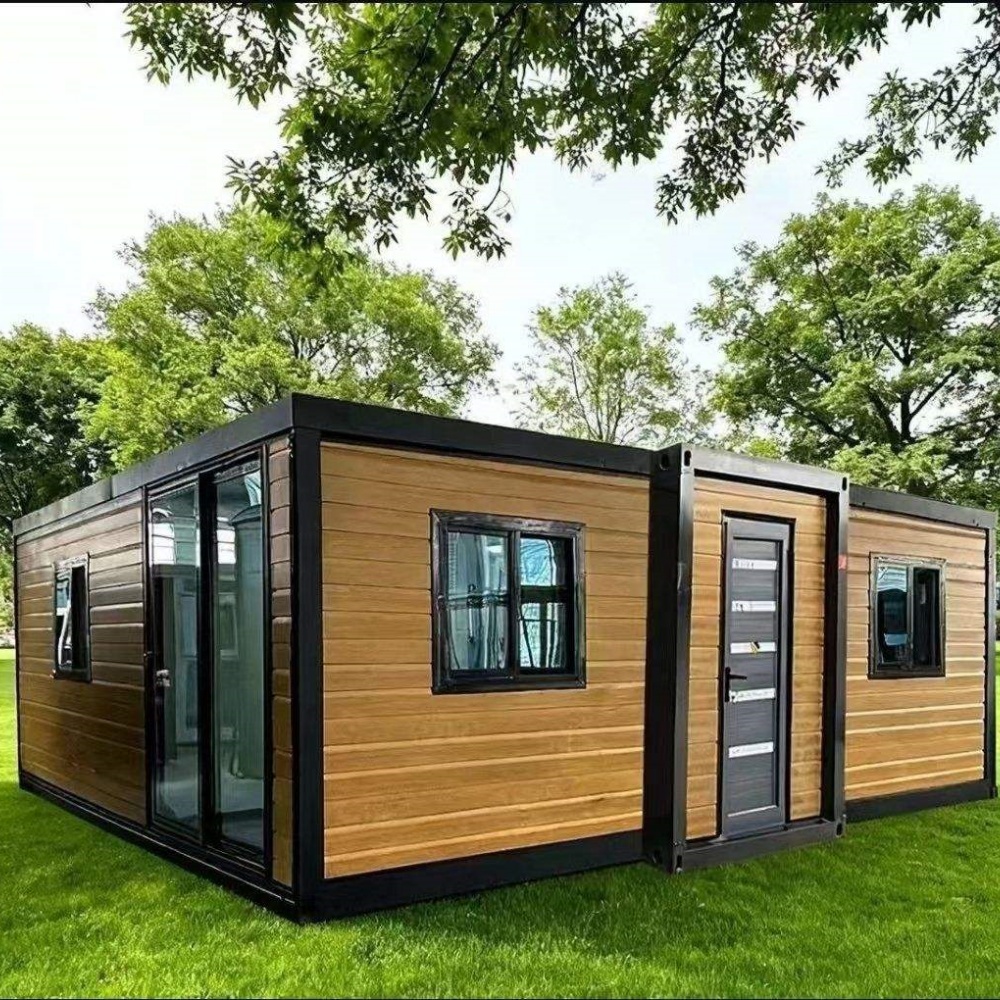
HG Prefab foldable expandable container homes — built to last, delivered worldwide.
A broadcast studio is the most demanding acoustic room in a small building project, and a steel container is not an obvious starting point: the shell is rigid, resonant and full of hard parallel surfaces. Yet containers have been used as studios for years, precisely because the shell is dimensionally stable, weatherproof and cheap to isolate when the build-up is designed correctly. This guide sets out how to turn a 20FT or 30FT folding container house into a live radio or podcast studio that passes a real transmission test.
What a Broadcast Room Must Achieve
Two different acoustic requirements are often confused, and separating them is the key to a sensible budget:
- Isolation — stopping sound getting in or out. A container studio next to a generator, a road or a working yard needs a high transmission loss, typically 50–60 dB Rw across the partition and the shell.
- Treatment — controlling sound inside the room. Speech needs a controlled reverberation time of about 0.2–0.35 s, with no flutter echo between the parallel walls and no bass build-up in the corners.
Isolation is solved with mass, decoupling and airtightness. Treatment is solved with absorption, diffusion and geometry. Specifying heavy acoustic panels alone will not improve isolation, and adding mass without treatment leaves a dead-sounding but noisy room. Plan both.
The unit itself arrives folded and is placed in one lift. Yes — a crane or forklift is required to offload the folded unit from the truck. Once it is set in position, four workers can unfold and assemble the main structure in about 2 hours, after which the acoustic build-out becomes the critical path.
Room Within a Room: Building Isolation Into the Shell
Broadcast-grade isolation is achieved by breaking every rigid connection between the inner room and the structure. The standard build-up, from outside in:
| Layer | Specification | Function |
|---|---|---|
| Outer shell | Container wall plus mass-loaded vinyl | First mass barrier, blocks airborne path |
| Air cavity | 75–100 mm, mineral wool, no rigid bridging | Decoupling and absorption |
| Inner leaf | Two layers 12.5 mm acoustic plasterboard with damping compound | Second mass barrier |
| Resilient mounts | Acoustic clips or isolation feet on a floating floor | Stops structure-borne vibration |
| Sealing | Acoustic sealant at every perimeter, socket and duct | Airtightness — a 1% gap loses most of the isolation |
Three details decide whether the build works. First, the floor: a floating slab on isolation pads, decoupled from the container deck. Second, the ceiling: hang it on acoustic hangers, never screw it directly to the roof purlins, or rain noise will be transmitted straight into the microphone. Third, penetrations: every cable, duct and conduit breaks the acoustic envelope, so group them into as few penetrations as possible and seal each one properly. See our acoustic build-up article, acoustic and soundproofing design, for material grades and installation sequence.
Treatment: Reverberation, Flutter and the Voice Booth
Once the room is quiet, it has to sound right on air. A spoken-word studio needs:
- Reverberation time of 0.2–0.35 s across the speech band. Achieve it with 50–75 mm absorptive panels covering 40–60% of the wall and ceiling area.
- No parallel untreated surfaces. Angle one wall by 5–10° or cover one of each pair with absorption. Flutter echo between bare parallel panels is instantly audible on a recording.
- Bass control in corners. Fit bass traps floor-to-ceiling in at least two corners; a container's rigid steel corners are an efficient resonator.
- A degree of diffusion. A diffuser panel on the rear wall behind the presenters stops the room sounding boxy without making it dead.
- Separate voice booths. For multi-presenter or interview work, a 1.2 × 1.2 m voice booth within the 30FT unit keeps contributors acoustically separated — useful for remote contributions from a noisy location.
Keep hard finishes off the desk and the floor. A glass-topped desk and a bare laminate floor will be heard on every recording, and no amount of wall treatment can remove that.
On-Air Layout, Sightlines and Studio Furniture
Studio ergonomics decide how quickly a presenter can work. In a 30FT unit, a proven arrangement is a control position at one end and a two-presenter desk in the middle, with the voice booth and equipment rack at the far end.
- Sightlines. The producer must see the presenters, and the presenters must see the on-air light and the clock. Put the clock where nobody has to turn away from the microphone to read it.
- Mic distance. Set boom arms so the capsule sits 150–250 mm from the mouth. This is where consistent levels come from, not from compression.
- Desk and chair noise. Specify a solid desk on a decoupled frame and chairs on soft castors; squeaks travel straight into a live microphone.
- Equipment rack. A rack at the far end of the room from the microphones, ventilated to the outside so fan noise does not become part of the broadcast. Heat is a real problem in a sealed container — see our HVAC guide for quiet cooling options.
- On-air signalling. An illuminated on-air sign outside every door, plus a hard-wired door interlock on the voice booth.
- Cable management. Route audio cable away from power cable and through sealed trunking; label every run at both ends.
Power, Signal and Redundancy
Broadcast has no acceptable downtime, so the studio services should be specified as though the mains will fail on air.
- Power: 8–12 kW for a 30FT studio with quiet cooling and lighting. Keep audio power on a separate circuit from lighting and air conditioning to avoid earth-loop hum.
- UPS and backup: an online UPS on the audio chain, the codec and the router, sized for at least 30 minutes, plus a generator with automatic changeover for longer outages.
- Connectivity: two independent internet paths — a fixed line plus a cellular router with an external antenna. Where the studio is the primary transmission path, diverse routing is not optional.
- Signal path: a codec with AES67 or Dante capability for flexible routing, and a hard-wired talkback between studio and control position that does not depend on the network.
- Grounding: a single technical earth, with audio screens bonded at one end only.
Commissioning, Testing and Handover
A studio is not finished when the plasterboard goes up. Budget a commissioning phase and verify it properly:
- Isolation test. With a sound source at realistic levels outside the unit, measure the level inside the studio. Compare against the target transmission loss before the inner leaf is sealed, so problems can still be fixed.
- Reverberation measurement. Measure RT60 in the finished room and compare against the 0.2–0.35 s target. Adjust absorption areas rather than guessing.
- Noise floor check. Air conditioning, rack fans and lighting transformers must be off during measurement; then measure again with them on. If the difference matters on air, the equipment is in the wrong place.
- Signal and latency checks. Confirm clean audio end to end, including the backup path, and measure round-trip latency on the transmission codec.
- Record a real programme. Nothing exposes acoustic and ergonomic faults faster than a full hour of live presentation.
What Does a Broadcast Studio Cost?
Indicative supply prices for HG Prefab folding units are $7,200–$9,800 for a 20FT, $10,500–$14,500 for a 30FT and $12,500–$16,500 for a 40FT. A broadcast-grade fit-out is a separate budget line and usually exceeds the unit cost: expect a substantial further investment for the room-within-a-room isolation, acoustical treatment, voice booth, acoustic doors, quiet HVAC, technical power and racking. A 30FT studio with one voice booth and a proper control position is the most common configuration; a 40FT adds a production room and a small green-room.
Compared with leasing and refitting city-centre space, a container studio wins on two counts: it can be deployed next to the community or the event it serves, and it can be relocated intact when the lease or the editorial remit changes. Specify the isolation target with your sales engineer before production, because building it into the structure at the factory is far cheaper than adding mass after the unit is on site.
Need a folding container house?
HG Prefab manufactures 20FT, 30FT and 40FT folding expandable container houses with optional acoustic linings, floating floors, sealed cable penetrations and quiet HVAC packages — shipped flat-packed worldwide.
Browse modelsFrequently Asked Questions
Do I need a crane to install a container radio studio?
Yes — a crane or forklift is required to offload the folded unit from the truck. Once it is set in position, four workers can unfold and assemble the main structure in about 2 hours. The acoustic room-within-a-room build-out follows on site and is the critical path.
How much sound isolation can a container studio achieve?
A properly specified room-within-a-room build reaches 50–60 dB Rw. It requires mass on both leaves, a 75–100 mm decoupled cavity, resilient mounts on a floating floor and acoustic sealant at every perimeter and penetration. Airtightness matters more than added mass.
What reverberation time should a broadcast studio have?
Spoken-word studios should sit at 0.2–0.35 s across the speech band. Achieve it with 50–75 mm absorptive panels on 40–60% of the wall and ceiling area, bass traps in at least two corners, and a diffuser behind the presenters to avoid a boxy sound.
How do you keep a container studio quiet when the air conditioning runs?
Put the equipment rack and cooling plant at the far end from the microphones, ventilate them to the outside, and specify quiet low-velocity ducting. Measure the noise floor with all plant running — if the difference is audible on air, relocate the equipment or add duct silencers.