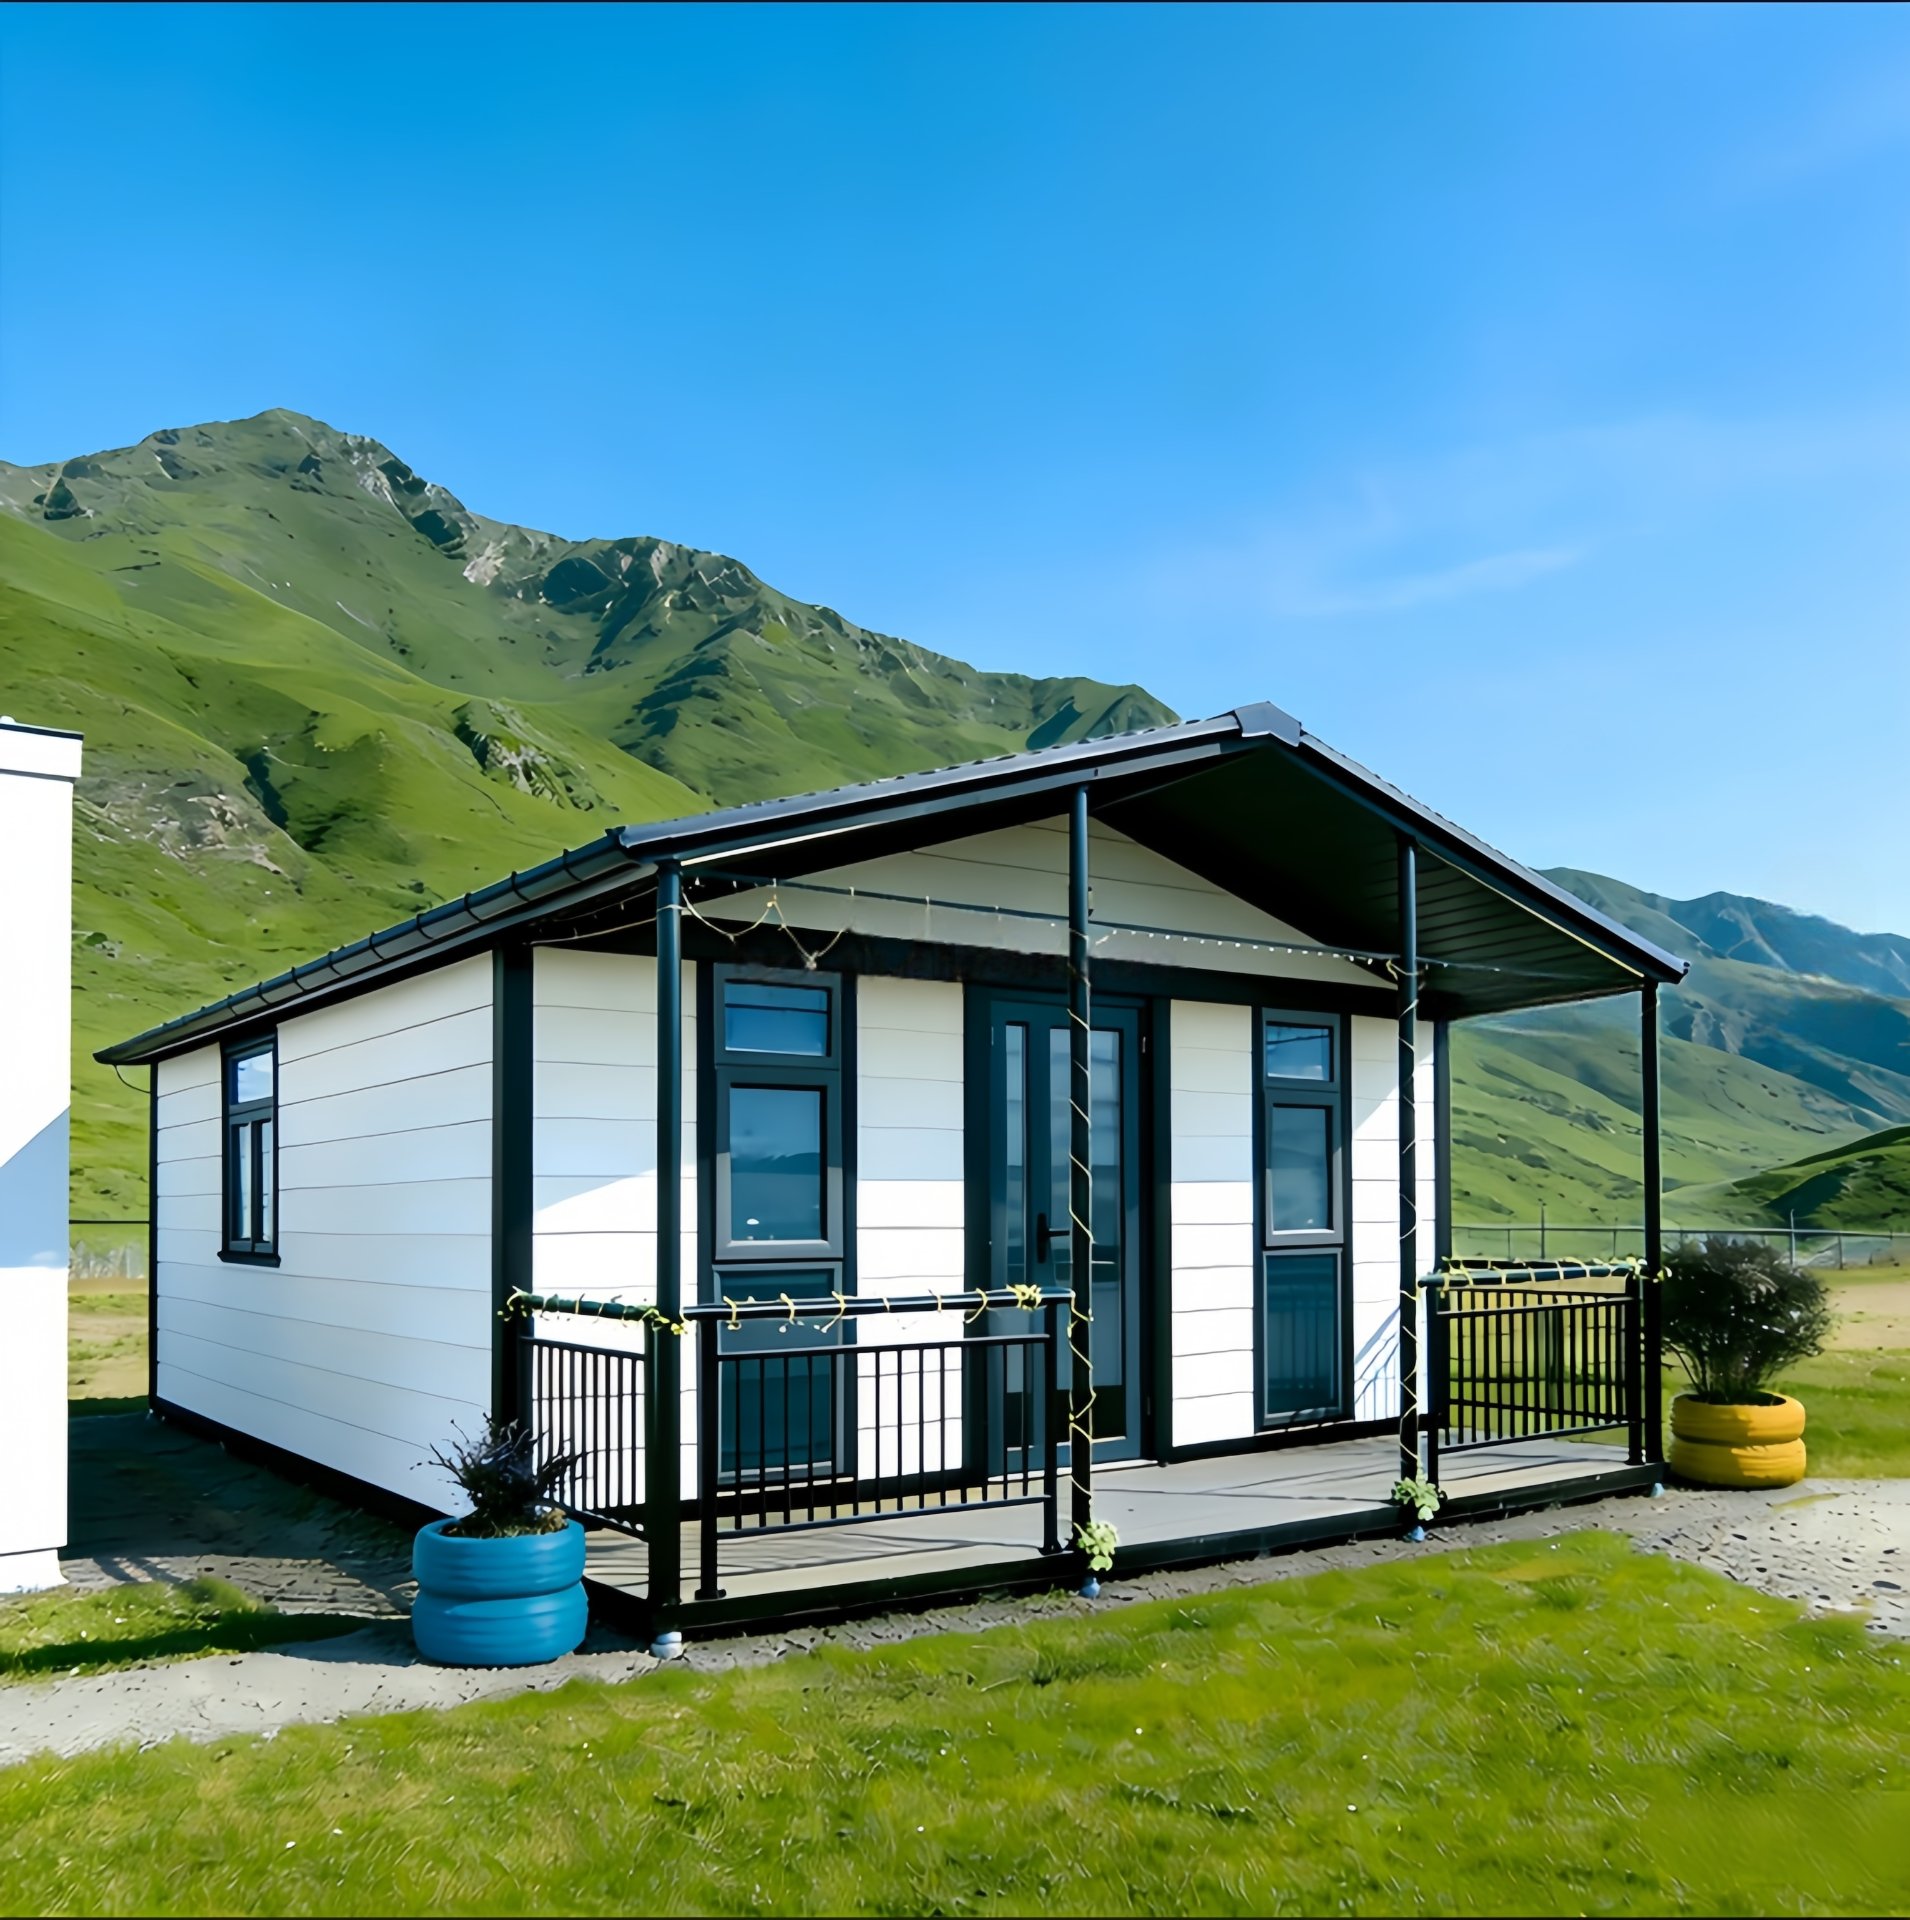
HG Prefab foldable expandable container homes — built to last, delivered worldwide.
Every folding container home has a roof that sheds rain. The question is whether that water becomes a resource or a problem. A properly designed rainwater harvesting and drainage system turns a 20FT, 30FT or 40FT folding container house into a partly self-sufficient property — useful for garden irrigation, toilet flushing, laundry and even drinking with the right treatment. This guide covers gutter sizing, downpipe layout, first-flush diverters, tank selection and code compliance for HG Prefab units.
Why a Container Roof Is a Good Rainwater Source
The folded-unit steel roof on an HG Prefab house is one of the cleanest rainwater collection surfaces available. Three characteristics matter:
- Slope and length — a single-pitch or dual-pitch roof on an unfolded 20FT/40FT unit delivers water to a tight zone at one or two eaves, which simplifies guttering.
- Material — the factory-galvanized steel panel with the standard color-coated finish sheds water cleanly and does not shed grit the way asphalt or felt does.
- Footprint — even a 20FT unit offers about 14 m² of catchment; a 40FT offers roughly 28 m². A 25 mm rainfall event yields 350 L and 700 L respectively.
When the unit is delivered, a crane or forklift sets it in position and four workers assemble the main structure in about 2 hours — after which the rainwater system is the first plumbing decision to make, ideally before the foundation slab cures.
Gutter Sizing and Layout
Undersized gutters overflow during storms, soak the eaves and undermine the surrounding foundation. Use the catchment area, local rainfall intensity and downpipe placement to size every component.
- Effective catchment: roof footprint × runoff coefficient (use 0.95 for coated steel).
- Rainfall intensity: design for the 1-in-20-year 5-minute rainfall for your region. Coastal tropical zones often need 250 mm/h; temperate zones typically 100–150 mm/h.
- Gutter cross-section: a 100 mm half-round gutter carries roughly 1.6 L/s; a 150 mm gutter carries 4.5 L/s. Most 20FT and 30FT homes are fine with 100 mm gutters, while 40FT homes in heavy-rain regions need 125–150 mm.
- Slope: 1:500 toward the downpipe prevents standing water without looking visibly tilted.
- Bracket spacing: 600 mm for steel gutters, 500 mm in snow regions.
Use continuous EPDM or silicone seals at every joint, and support gutter outlets with a bracket within 150 mm of each side. For roof-style choices, see our roof options guide.
Downpipe Placement and Capacity
Downpipes carry the design flow to the tank or storm drain. Place one downpipe for every 12 m of gutter run on a 20FT unit and every 10 m on a 40FT unit to keep the gutter from backing up.
- Diameter: 75 mm round downpipes handle a 100 mm gutter in low-rain regions; 90 mm or 100 mm is safer in heavy rainfall.
- Routing: run downpipes inside the corner posts when possible, so they are invisible and protected.
- First 1.5 m: the downpipe must be firmly fixed at the top, where the largest water load lands.
- Drainage path: connect to a soakaway, storm sewer or rainwater tank — never discharge at the slab edge, where water will undermine the foundation.
First-Flush Diverters and Pre-Filtration
The first rain after a dry spell washes dust, bird droppings and metal oxides from the roof into the tank. A first-flush diverter discards the first 20–40 L of every rainfall event and dramatically improves water quality.
- Manual ball-valve diverters — the simplest design, emptied by hand after each rain. Costs $40–$120.
- Automatic tip-and-pool diverters — empty themselves once full; useful when the unit is unoccupied. Expect $150–$300.
- Pre-tank mesh filter — a 1 mm stainless mesh at the tank inlet catches leaves and insects; clean it every 3–6 months.
- Inlet calming plate — drops water into the tank without stirring sediment already settled at the bottom.
Tank Sizing and Placement
Tank volume is governed by roof area, rainfall, demand and the longest expected dry spell. For a single folding container home, two practical sizes cover most cases:
| Unit size | Roof catchment | Recommended tank | Annual yield (500 mm rain) |
|---|---|---|---|
| 20FT | ~14 m² | 2,000–3,000 L slimline tank | ~7,000 L |
| 30FT | ~21 m² | 3,000–5,000 L slimline or panel tank | ~10,500 L |
| 40FT | ~28 m² | 5,000–10,000 L panel or underground tank | ~14,000 L |
Place the tank close to the downpipe to reduce trenching, but shade it from direct sun to limit algae growth. Slimline tanks fit alongside the unit within 30 cm of the wall; underground tanks suit larger 40FT homes where yard space is tight.
Pumps, Plumbing and Treatment
Once stored, water must move through the home reliably:
- Gravity feed: a tank elevated 1–2 m above the highest outlet can supply garden taps without a pump.
- Pressurized supply: a small submersible or surface pump (700 W, 35–50 L/min) feeds toilets, washing machine and outdoor taps through a dedicated rainwater plumbing line.
- Cross-connection control: an air gap or backflow preventer is mandatory where the rainwater system meets the mains supply — many councils require it by code.
- Treatment ladder: for garden and toilet use, mesh filtration plus a 50 µm sediment cartridge is enough. For shower use, add a 5 µm carbon filter. For drinking, add UV sterilization or fine filtration.
Pair the rainwater plumbing with the unit's freshwater plumbing — see our plumbing & electrical guide for the full layout.
Maintenance and Code Checklist
- Inspect gutters twice a year — clear leaves, check brackets, reseal any joints that drip.
- Clean the first-flush diverter after every major rain event for the first 6 months, then quarterly.
- Wash tank interiors annually — drain to half level, scrub the walls, refill and shock-chlorinate if used for drinking.
- Replace UV bulbs every 12 months if the system treats water to potable standard.
- Keep records — note rainfall, tank levels and water use for a year; the data reveals whether the system is sized correctly.
Most councils and water authorities classify rainwater as a non-potable supply by default, but allow potable use with a compliant treatment train. Check the local building code before connecting rainwater to drinking taps — see our permits & regulations guide.
Early Planning: Drainage Layout Before the Slab Cures
The rainwater system is easiest to build when the big decisions are made before the unit arrives. Two choices drive everything else: where the downpipe will discharge and where the tank will sit. Sketch both onto the site plan, then confirm the trench line falls at least 1:60 so water and any tank overflow drain away rather than backing up toward the footing.
Plan the downpipe exit early so it can be routed inside a wall void or chased into the slab before the concrete cures — retrofitting a discharge point through a finished floor typically costs $150–$400 more than specifying the penetration at order time. HG Prefab can factory-prep the downpipe location; tell your sales engineer which side of the unit the tank will sit on, and the trench run stays short and straight.
Delivery day sets the schedule. Yes — a crane or forklift is required to offload the folded unit from the truck. Once it is set in position, four workers can unfold and assemble the main structure in about 2 hours, so pre-dig the trench and bed the tank before the offload arrives. A compacted sand base 150 mm deep and a level pad of roughly 2,000 × 800 mm per slimline tank lets you set the tank right after assembly instead of re-levelling a sagged pad later.
Budget the Drainage Package
Allow roughly $600–$1,200 for a complete rainwater package on a 20FT unit: 100 mm gutter and brackets at about $8–$14/m, 75 mm downpipe at about $12/m, a first-flush diverter, 1 mm inlet mesh and a 2,000 L slimline tank. Add $100–$250 for trenching and fittings in firm soil. Most buyers find the payback lands under three years once the system offsets irrigation and laundry demand, and it pairs cleanly with the unit's freshwater plumbing for a single, code-compliant water room.
Need a folding container house?
HG Prefab manufactures 20FT, 30FT and 40FT folding expandable container houses with optional roof drainage kits, custom plumbing penetrations and factory-prepped downpipe locations — shipped flat-packed worldwide.
Browse modelsFrequently Asked Questions
How much rain can a container home roof collect?
A 20FT unit catches roughly 14 m² and a 40FT about 28 m². A 25 mm rainfall event yields about 350 L on a 20FT and 700 L on a 40FT. Across a temperate 500 mm rainfall year, expect 7,000–14,000 L depending on unit size.
What size gutter does a folding container home need?
Most 20FT and 30FT homes are fine with a 100 mm half-round gutter, while a 40FT in a heavy-rain region should use 125–150 mm. Size by roof catchment and the 1-in-20-year 5-minute rainfall intensity for your location.
Do I need a first-flush diverter on a container home rainwater system?
Yes. The first rain after a dry spell carries dust, leaves and metal oxides from the roof. A first-flush diverter discards the first 20–40 L and dramatically improves water quality, especially for garden and toilet use.
Can rainwater be used for drinking in a container home?
Yes, with the right treatment train. After the first-flush diverter and pre-filter, add a 5 µm carbon filter and UV sterilization. Many councils require an air gap or backflow preventer where rainwater plumbing meets mains supply.
Where should the rainwater tank sit next to a container home?
Place it close to the downpipe to limit trenching, shaded from direct sun to limit algae. Slimline tanks fit within 30 cm of the wall; underground tanks suit larger 40FT homes where yard space is limited.