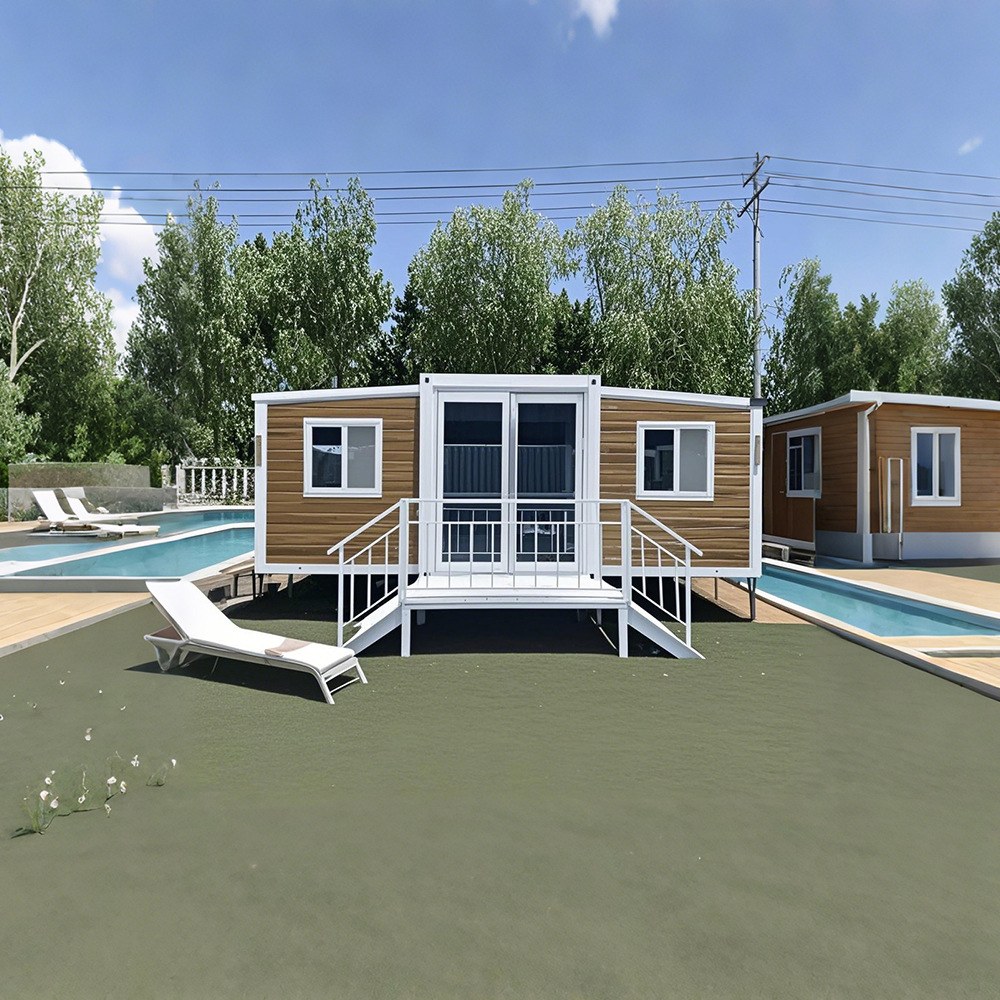
HG Prefab foldable expandable container homes — built to last, delivered worldwide.
A dedicated media room is one of the few home upgrades where the building itself determines most of the result. You can buy a superb projector and a nine-channel amplifier and still end up with a room that sounds boomy, looks washed out and feels cramped, simply because the geometry and the surfaces are wrong. A folding expandable container house gives you an unusually good starting point for a home theater: a long, regular, windowless steel box that is structurally rigid, easy to black out and physically separated from the main house.
That separation is the real prize. A cinema in a spare bedroom has to coexist with family life, daylight and the noise of the rest of the building. A cinema in a container 15 m from the back door does not. This guide covers everything that turns that box into a proper screening room — size selection, screen and throw geometry, seating risers, layered acoustic treatment, lighting, AV power, ventilation noise and the 2026 cost picture.
Why a Folding Container Home Makes a Good Home Theater
A regular, repeatable enclosure
Gravel-bed analysis aside, the practical advantage of a container shell is that every dimension is known in advance. Unit width, height and length are fixed by the folding mechanism, so you can specify screen size, riser height, speaker positions and cable runs on a drawing rather than discovering them on site. Installers like working in these rooms for exactly that reason: nothing is out of square and there are no surprises behind the plaster.
Isolation from the main house
A detached media room solves two problems at once. Sound leaving the room stops being a family argument, and sound entering it — footsteps, kitchen extraction, a washing machine — stops competing with dialogue. If neighbors are within 20 m, that isolation has to be engineered rather than assumed, which is why the acoustic section below is the longest in this guide.
Light control by default
Projectors need darkness, and the standard folding unit is delivered with few openings on the long walls. That is an asset for video and a liability for comfort, so plan the balance deliberately: minimize or black out glazing at the screen end, and put any daylight you want near the entrance end behind a heavy blackout blind. The best container cinemas are rooms where you cannot tell whether it is midday outside.
Choosing the Right Size: 20FT vs 30FT vs 40FT Theater Layouts
Size drives everything else. The comparison below sets out what each unit realistically supports once you respect viewing distance, throw distance, aisle width and row-to-row depth rather than optimistically sketching rectangles.
| Specification | 20FT | 30FT | 40FT |
|---|---|---|---|
| Usable floor area | ~14 m² | ~21 m² | ~28 m² |
| Internal clear length | 5.4–5.9 m | 8.5–9.0 m | 11.5–11.9 m |
| Typical internal width | 2.2–2.4 m | 2.2–2.5 m | 2.2–3.0 m |
| Recommended screen size | 100–120 in | 130–150 in | 150–180 in |
| Display type | 85–98 in TV or projector | Projector recommended | Projector, 4K laser |
| Seating rows | 1 | 2 | 2–3 |
| Seating capacity | 2–4 seats | 4–6 seats | 8–12 seats |
| Riser height (rear row) | 0–150 mm | 200–300 mm | 250–400 mm per row |
| Speaker layout | 5.1.2 | 7.1.4 | 9.1.6 or 7.2.6 |
| Subwoofers | 1 | 1–2 | 2 |
| Acoustic treatment level | Basic package | Standard package | Full package + isolation |
| Connected AV load | 2–3.5 kW | 3.5–6 kW | 6–10 kW |
| Ventilation requirement | 120–200 m³/h | 180–300 m³/h | 300–500 m³/h |
| Base unit price (2026) | $7,200–$9,800 | $10,500–$14,500 | $12,500–$16,500 |
Read it as a ceiling rather than a target. A 20FT is genuinely excellent for one couple or a small family, and a 120-inch image at a 3 m viewing distance is more immersive than a 55-inch television in a living room by a wide margin. Move up to 40FT only if you will regularly fill ten seats; otherwise you are paying for acoustically difficult empty volume.
Screen Size, Throw Distance and Viewing Geometry
Viewing distance first, screen second
Work backwards from the seats. The widely used rule for a 16:9 image is a viewing distance of 1.5 to 2.0 times the screen width for a cinematic feel, or roughly 1.2 times for a more analytical, front-row experience. Get that relationship right and the room feels right; get it wrong and no amount of equipment budget fixes it.
| Screen diagonal | Image width | Ideal viewing distance | Typical projector throw* | Minimum room depth |
|---|---|---|---|---|
| 100 in | 2.21 m | 2.7–3.5 m | 2.6–3.9 m | 4.5 m |
| 120 in | 2.66 m | 3.2–4.2 m | 3.1–4.7 m | 5.3 m |
| 135 in | 2.99 m | 3.6–4.7 m | 3.5–5.3 m | 5.9 m |
| 150 in | 3.32 m | 4.0–5.3 m | 3.9–5.9 m | 6.5 m |
| 180 in | 3.98 m | 4.8–6.4 m | 4.7–7.1 m | 7.7 m |
*Assumes a conventional 1.3–2.0:1 throw ratio. Ultra-short-throw and short-throw projectors (0.25–0.8:1) cut these distances dramatically and are often the better choice in a 20FT.
Projector or large television?
For a 20FT, an 85 to 98 inch television is often the smarter buy. It needs no throw distance, no ceiling mount, no lens-shift maths, and it holds contrast in a room that is not perfectly black. Above 120 inches, projection becomes the only sensible option on cost grounds. For either choice, remember that the screen wall is also your front sound stage — decide whether you want an acoustically transparent screen with speakers behind it, or a standard screen with the centre speaker immediately below.
Throw pitfalls specific to container rooms
- Ceiling height: many folding units sit around 2.2–2.5 m internally. A ceiling-mounted projector eats 200–300 mm of that, so either recess it or use an ultra-short-throw unit on a low console beneath the screen.
- Lens offset: the projector lens rarely lines up with the screen centre by accident. Buy for vertical lens shift, or use a mount with a long adjustable column.
- Long cables: HDMI beyond about 10 m over passive copper is unreliable. Run conduit with a spare draw string and either specify an active optical HDMI or a fibre-based HDCP link from day one.
- Fan noise: check the projector's decibel rating at full lamp. A 30 dB unit at 2 m behind your head is audible in quiet dialogue passages.
Seating Layout, Risers and Capacity
Row spacing and sightlines
Recliners are deep, and they are far deeper once reclined. Budget 950–1,100 mm of row-to-row depth for fixed upright seating, and 1,250–1,400 mm where the row reclines. Each riser step should be 250–400 mm high so that the eye line of the rear row clears the heads in front by roughly 150–200 mm once everyone is seated and leaning back.
Aisles matter more than people expect. Keep a minimum 900 mm clear walkway along one wall; anything narrower and the last person in has to climb over knees to reach their seat. In a 20FT with only 2.2–2.4 m of width, a single row of three or four recliners against the rear wall is a better arrangement than two rows shoehorned together.
Riser construction
Build the riser as a decoupled timber or steel frame platform, not a solid mass on the container deck. Fill it with mineral wool, close it with 18 mm plywood, and carpet or rubber-treat the surface so it does not drum under footfall. A hollow riser doubles as useful bass absorption and stops footsteps transmitting through the whole structure — the single most common complaint in first-time builds.
Seating types that work in these rooms
- Powered recliners with cup holders and USB: the default choice for a family cinema. Check the reclined depth against your row spacing before ordering.
- Fixed theatre seats with a shared arm: the highest density option for a 40FT; typical pitch is 550–600 mm per seat.
- A rear sofa plus a front beanbag row: the cheapest route and often the best for mixed-use rooms that also host games and streaming.
- Accessible bays: if wheelchair users will attend, plan one level entry point on the front row with companion space rather than a retrofit. See our accessibility design guide.
Acoustic Treatment for a Steel Box
Steel is stiff, light and highly reflective. Left bare, a container cinema rings like a drum: dialogue smears, bass piles up in the corners and the whole thing sounds loud but unintelligible. The fix is layered, and it follows the standard mass–decouple–absorb sequence.
Step 1 — decouple
Do not screw acoustic linings directly to the steel shell. Build an independent stud frame inside it with a 10–20 mm gap, isolated from the shell with resilient mounts or acoustic hangers. Every rigid screw connection is a short circuit that hands vibration straight back to the panel. This single step delivers more improvement per dollar than anything else in the build.
Step 2 — add mass
Two layers of 15 mm acoustic gypsum with staggered joints, or one layer of gypsum plus a mass-loaded vinyl barrier at 5–10 kg/m², will cut transmission substantially. The principle is straightforward: heavy, limp layers stop sound leaving the room, and they also stop external noise getting in. Do not forget the ceiling and the door — a solid-core door with a drop seal and magnetic perimeter gasket is not optional.
Step 3 — absorb and trap
- First reflection points: 50–100 mm absorbers on both side walls, at screen height, between the front speakers and the main listening row. This is where the biggest clarity gain comes from.
- Rear wall: broadband absorption or a mixed absorption and diffusion panel so the rear does not slap the surround channels back at you.
- Corners: floor-to-ceiling bass traps in all four vertical corners. In a small room the modal problems are predictable and these are the cheapest effective cure.
- Floor and ceiling: a dense carpet or large rug over a rubber underlay, and a treated ceiling cloud above the main row.
- Target: aim for a reverberation time around 0.25–0.35 seconds from 250 Hz to 4 kHz. That is the range in which dialogue sounds clear and music still has life.
Full construction detail is in our container home acoustic and soundproofing guide, and insulation build-ups are covered in our insulation guide.
Lighting Design for a Media Room
Lighting has two jobs in a cinema: keep the picture clean and let people find their seats safely. Everything else is decoration.
- Ambient: 50–100 lux dimmable general lighting for cleanup and entry, on a separate circuit from anything else.
- Step lighting: low-level LEDs at 2,700–3,000 K along the riser edges and aisle, drawing 1–2 W per fitting. This is what stops people tripping on the step in the dark.
- Bias lighting: a dim strip behind the screen at roughly 10% of peak screen luminance reduces eye strain and makes black levels look deeper.
- No direct light on the screen: every fixture must be shielded or recessed, and no downlight should sit between the projector and the screen.
- Blackout: matte dark finishes on walls and ceiling within 2 m of the screen. A gloss white ceiling panel here will visibly wash the image.
More fixture placement and control detail is available in our lighting design guide.
AV Equipment, Power and Cabling
Specify the electrical side before the unit is assembled, because adding circuits after the wall linings are closed means cutting finished surfaces. Work through our electrical load planning guide with your installer, then lock the layout.
- Dedicated AV circuit: one clean radial feed for the rack, projector and amplifiers, separate from lighting and HVAC.
- Connected load: 2–3.5 kW for a 20FT cinema, 3.5–6 kW for a 30FT, and 6–10 kW for a fully specified 40FT with multiple subwoofers and climate control.
- Surge protection and conditioning: a rack-mounted conditioner with isolated outlet banks protects expensive sources and removes ground-loop hum.
- Cable management: a 50–75 mm conduit from the rack position to the projector and to each speaker location, each with a draw string left inside.
- Speaker cable: run before lining. Atmos height channels are almost impossible to add later, regardless of what the plan looked like.
- Ventilated rack: amplifiers generate heat. A small cabinet with a thermostatically controlled fan, drawing air from outside the room, keeps noise and temperature down.
HVAC, Ventilation and the Noise Floor
A room with ten people, a projector and 2 kW of amplification gets warm, and the last thing you want is a fan roaring during a quiet scene. Two rules govern the design. First, size airflow to people rather than volume — roughly 120–200 m³/h for a 20FT and 300–500 m³/h for a 40FT. Second, move air slowly: large ducts, generous grilles, and a supply velocity under 2.5 m/s keeps the system below the listening noise floor.
- Split the equipment: keep the compressor outside and use a low-speed ducted mini-split or a remote fan unit in a separate lobby box.
- Isolate the ducts: flexible connectors at both ends and a lined plenum between the fan and the first grille.
- Do not place returns near the listening position: a return grille next to your ear is a permanent broadband hiss.
- Control humidity: a dry room protects both the electronics and the screen. Target 40–55% RH.
Further sizing detail is in our HVAC guide and our ventilation guide.
Theater Layout Recipes by Size
20FT — couple's cinema
A 110-inch screen on one short end wall with an ultra-short-throw projector on a low console beneath it, three powered recliners in a single row at roughly 3.2 m, a 5.1.2 height-enabled speaker system, one subwoofer in the front corner, basic acoustic package and dimmable LED strip stepping. Equipment spend typically lands between $4,000 and $12,000 above the base unit.
30FT — family screening room
A 135-inch screen with a standard-throw projector ceiling-mounted over the rear row, two rows of three recliners with the rear row on a 250 mm riser, a 7.1.4 layout, dual subwoofers, full side-wall treatment with corner traps and a blackout entry vestibule. Because the vestibule sits outside the acoustic envelope, people can arrive mid-film without light spilling into the room.
40FT — private cinema and screening venue
A 150 to 180-inch acoustically transparent screen with the front three speakers behind it, two rows of four to six fixed theatre seats on a tiered riser plus an optional bar row at the rear, a 9.1.6 or 7.2.6 layout, a fully decoupled room-within-a-room build with double layers of mass-loaded gypsum, two subwoofers, star-ceiling panels or a treated ceiling cloud, and a dedicated plant lobby. This is the specification used for small commercial screening venues, sports clubs and boutique hospitality screening rooms.
Cost, Delivery and Installation
Typical 2026 budget for a container home theater:
- Folding container unit: 20FT $7,200–$9,800; 30FT $10,500–$14,500; 40FT $12,500–$16,500 depending on size and finish.
- Acoustic package: $2,500–$12,000 depending on whether you build a full room-within-a-room.
- Projector and screen: $1,500–$15,000.
- AV receiver, amplifiers and speakers: $2,500–$25,000.
- Seating and riser: $2,000–$15,000.
- Lighting, blackout and interior finishes: $1,500–$6,000.
- Electrical, HVAC and ventilation: $2,000–$8,000.
- Foundation, delivery and crane: $1,500–$6,000 depending on site access.
Delivery itself is fast and predictable. Yes — a crane or forklift is required to offload the folded unit from the truck. Once it is set in position, four workers can unfold and assemble the main structure in about 2 hours. Acoustic lining, riser construction and AV fit-out typically add another five to twelve days depending on specification.
That lead time is worth using well. Send your sales engineer the screen wall, rack position, riser step heights and every cable route, and HG Prefab can factory-prep the internal frame isolation points, conduit runs, ventilation penetrations, speaker backing plates and socket positions so the first fix is already in the wall when the unit opens. Browse the current range of folding expandable units on our products page.
Planning a container home cinema?
HG Prefab manufactures 20FT, 30FT and 40FT folding expandable container houses with factory-prepared isolation frames, conduit runs, speaker backing plates, blackout-ready openings and socket layouts for home theaters and media rooms < shipped flat-packed worldwide by Henan Huangang Machinery Equipment Co., Ltd. Email hgmechequip@gmail.com or WhatsApp +86 191 0388 7380 for a layout drawing and quote.
Browse modelsFrequently Asked Questions
What screen size fits in a 20FT, 30FT or 40FT container theater?
A 20FT unit supports a 100–120 inch projection screen or an 85-inch TV with a single row of three to four seats. A 30FT supports 130–150 inches with two rows of four to six seats. A 40FT supports 150–180 inches with two or three rows and eight to twelve seats on a tiered riser. Always size the screen to the viewing distance first, then check that the throw distance fits the remaining room depth.
Can a steel container room actually sound like a cinema?
Yes, with layered construction. Bare steel rings and reflects, so build a decoupled stud wall inside the shell, add mass with two layers of 15 mm gypsum or a mass-loaded vinyl barrier, isolate wiring and ducts, then finish the visible surface with 50–100 mm absorbers at first reflection points, broadband panels on the rear wall and bass traps in all four corners.
How many people can a container home theater seat?
Capacity depends on size and riser design. A 20FT seats two to four in a single row of recliners. A 30FT seats four to six across two rows, with the rear row on a 200–300 mm riser. A 40FT seats eight to twelve in two or three rows, with each row raised 250–400 mm and a minimum 1,050 mm row-to-row depth so reclined seats and walkways still clear.
How much power does a container home theater need?
Budget a dedicated AV circuit and a separate circuit for HVAC and lighting. A 20FT cinema typically draws 2–3.5 kW including the amplifier bank, a projector and a mini-split. A 40FT with nine to sixteen channels of amplification, dual subwoofers and cooling lands between 6 and 10 kW. Specify the electrical package before assembly so conduit and sockets land exactly where the rack goes.
How is a folding container home theater delivered and installed, and what does it cost?
Yes — a crane or forklift is required to offload the folded unit from the truck. Once it is set in position, four workers can unfold and assemble the main structure in about 2 hours. Base unit prices are 20FT $7,200–$9,800, 30FT $10,500–$14,500 and 40FT $12,500–$16,500. Acoustic packages, seating, projector, screen and amplifiers typically add $8,000 to $45,000 depending on specification.